Friday, 1 April 2016
Beadswax
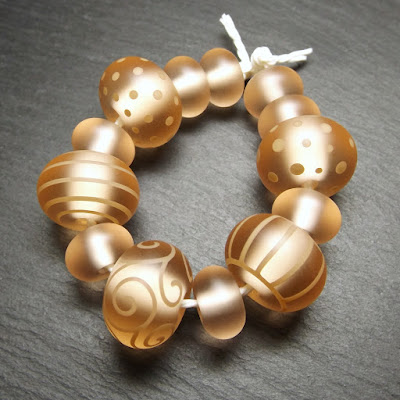
It's safe to say that I'm utterly in love with my tumbler and the beautiful satin finish that it puts on my beads. The thing that takes tumble-etched beads to the next level, though, is the final finishing 'beadswax' touch.
Etched beads are pretty as they are but a thin application of this olive oil and beeswax mixture gives them a subtle, soft sheen that makes them glow. I made this little jar of what I'm calling 'beadswax' using the directions I found on the Lavender Creek Glass blog. I melted five tablespoons of extra virgin olive oil with two tablespoons of beeswax pellets. I used BP grade beeswax pellets, meaning that they are certified as suitable for use on skin and in cosmetics. I poured the beadswax into a super-sweet little Kilner jar that I got from Lakeland.
To wax my beads (oooh, saucy) I scoop out a little bit of the beadswax, rub it between my fingers and then I give each bead a little massage. I then buff my beads (oooh again) with a cotton cloth. The beads are left with a beautiful sheen that just makes their satin finish sing. And don't be thinking that the beads are greasy or sticky because they're not at all. The beadswax will eventually wear off but will be replenished by the natural oils of hands and skin during handling, or when the beads are worn.
The beadswax doesn't just work for tumble-etched beads, which can seem a little 'dry' after the tumbling process - it's great for chemical-etched beads too.
Big thanks to Teresa at Lavender Creek Glass for sharing her bead polish recipe.
Labels:
Beadswax,
Etching,
how to,
Luminobeads,
Tumble-etching,
Tweet
Subscribe to:
Post Comments (Atom)


Hello Laura,
ReplyDeleteI only want to tell you that I found a machine like yours in Germany :)I´m excited if it works. Beads are ready for tumbling ;)
Many greetings
Petra
Fab stuff! Have fun.
Delete